- After a successful purchase, you will get plugin with license to your email.

2. Click on download link in the email to download the latest version of plugin.
3. Navigate to WordPress admin dashboard, click on Plugins menu and select Add New Plugin.

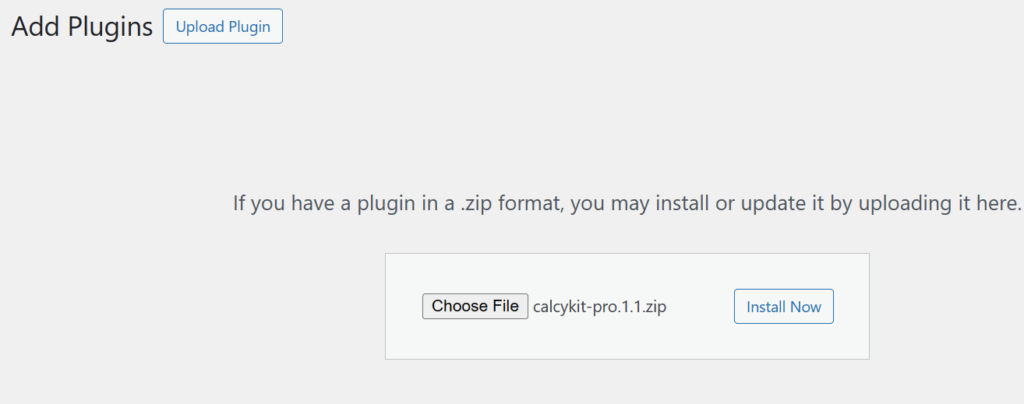
- Click the “Upload Plugin” button, choose the zip file you downloaded and click on install now button.
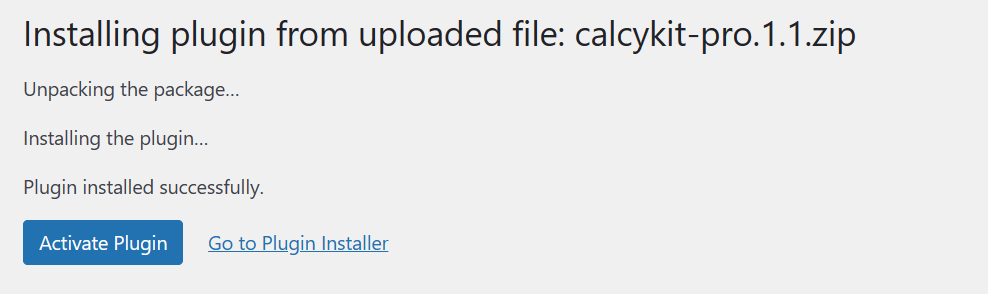
- After installation, click on activate button to complete installation.
- Paste the license key you received via email in the dialogue box and click on Activate License.
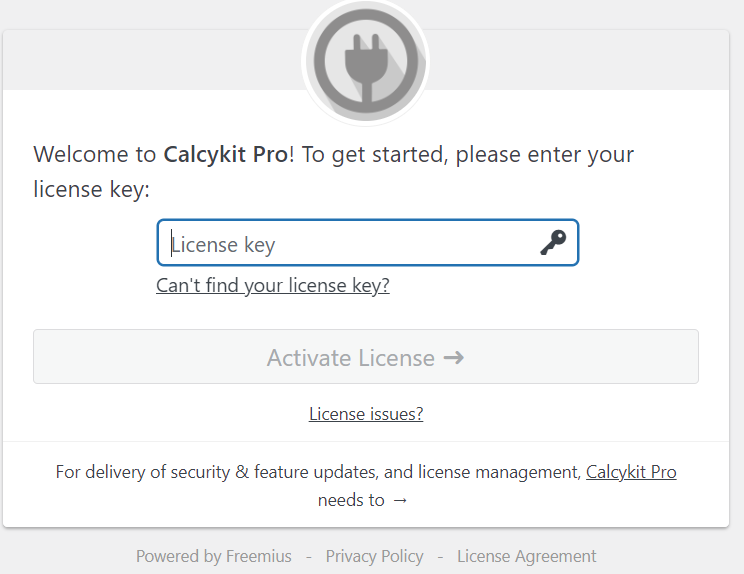
- That’s it, you’ve successfully installed and activated the Calcykit Pro plugin.
You even get two instruction videos by freemius team through email about plugin installation.